Table Saw Sled: How To Build Your Own – FREE Tutorial With Pictures
The absolute best cut quality I have ever achieved was, and always is, on a table saw. More often than not, using a table saw sled.
The table saw cut’s smoother, cleaner, and with a good blade, requires less sanding (if any at all).
When you incorporate a good table saw sled (crosscutting sled) in your shop, you can begin to create perfect cross cuts over and over again without having to adjust and mess with the miter gauge.
So today I’m going to show you how I made this precision table saw sled, using only scrap plywood and a runner, and implementing the 5 cut method for superior squareness upon completion.
How To Build A Table Saw Sled
- Cut your plywood pieces down to size
- Build the main fence by laminating 2 pieces together
- Attach the solid aluminum runner to the base
- Attach the sled straightener board to the leading edge
- Attach the main fence to the trailing edge
- Apply the 5-cut method to a piece of scrap, and fine tune the squareness
- Final assembly, and apply finish if desired
So with that laid out, you can see there’s not a lot to this process. But doing it correctly and applying the 5 cut method is critical.
No one likes a crosscut that isn’t square (when it’s supposed to be 90 degrees), so get this step right and you’ll be making perfect crosscuts with your table saw sled from here on out.
Note – Below I’ll be walking your thru the 5-cut method step by step, but for a more technical-based explanation of this method, see this forum post here.
Easy Table Saw Sled – Parts, Pieces, and The Process
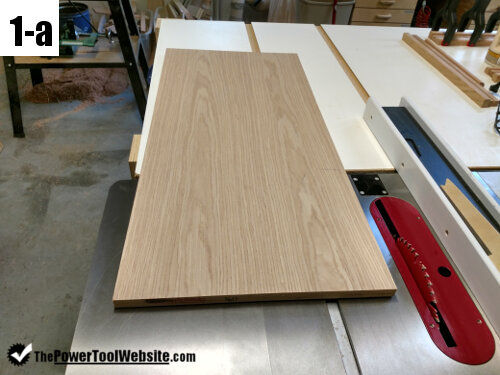
1. First, come up with the right material for the table saw sled. I used some scrap I had leftover from another project. The base is from half inch birch plywood, and both fences are 3/4 in manufactured oak plywood.

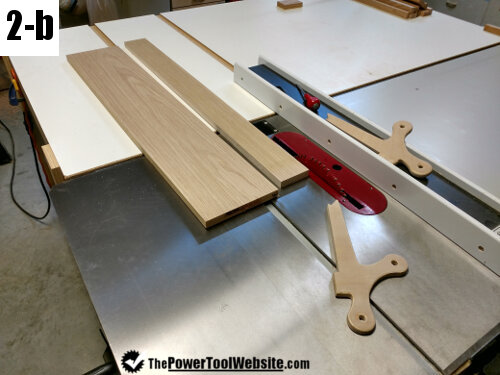
2. For the fences, rip three pieces, each 3 inches wide, 30 inches long. Two will be used for the main fence, one will be used for the board straightener.
CUSTOM PUSH STICKS – Click here to see me build these push sticks
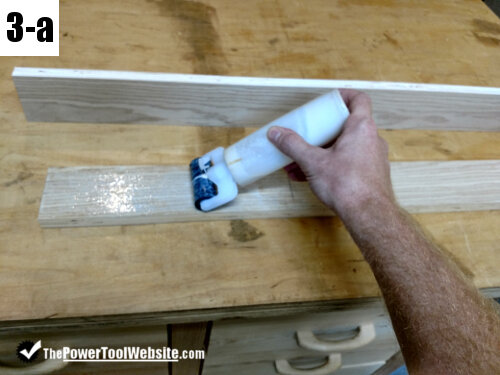
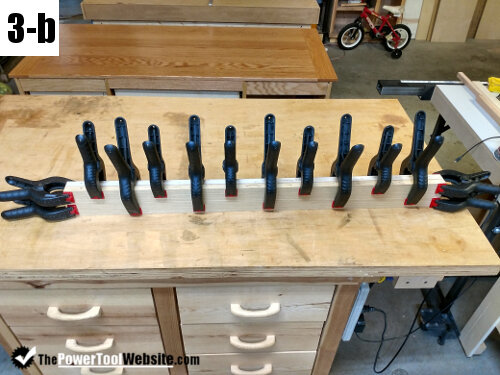
3. Take two pieces and glue them together. I don’t use any screws or brad’s, I just clamp it very well because it is a lamination glue up which is incredibly strong, and I have plenty of time to let it dry so I don’t need to rush through it by using brad’s.
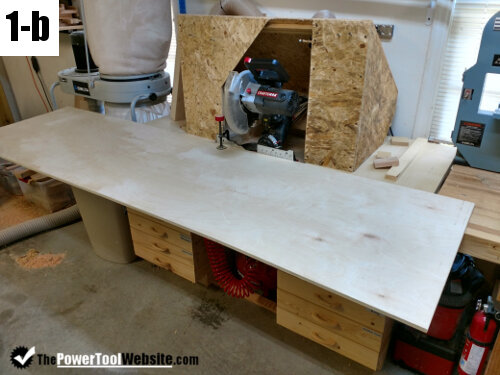
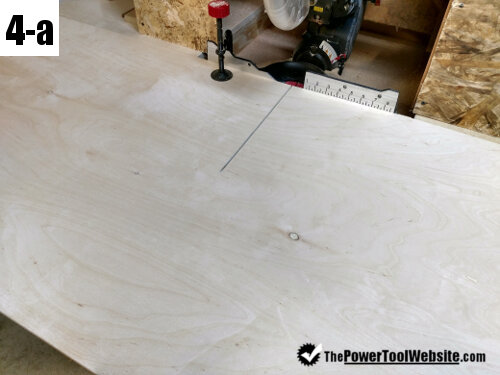
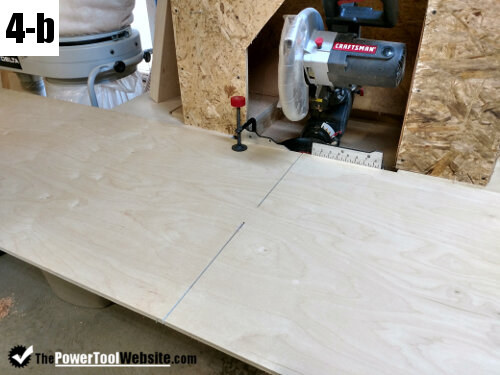
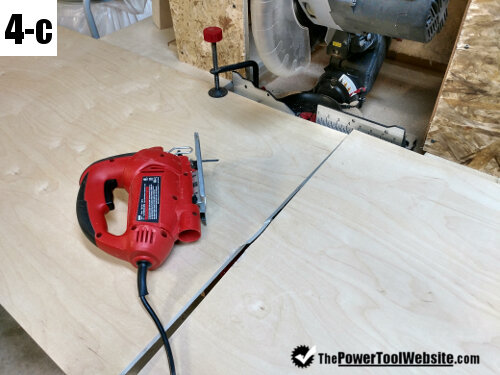
4. Next I take the half inch birch plywood, which is still 8 feet long, and I cross cut it on my sliding miter saw. Because it doesn’t go the full width, I turn it over and cut again from the other Edge. This still was not enough to cut all the way through, so I finish the cut with the jigsaw.
Click here for more on how to safely work with and handle plywood.
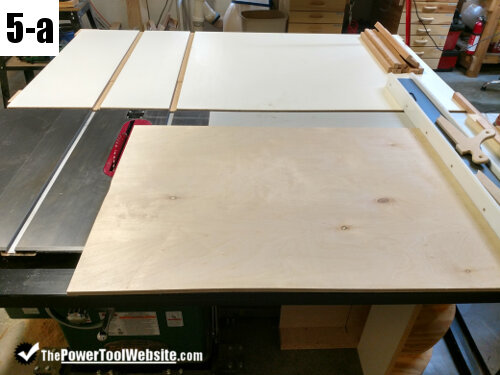
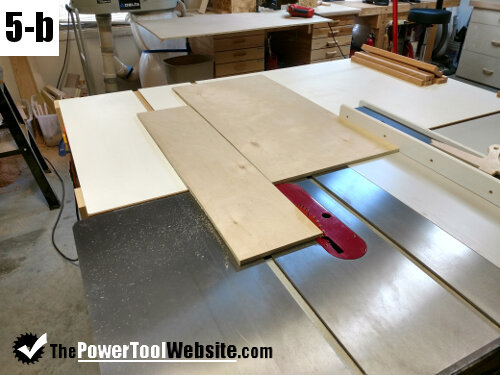
5. Clean up all the edges of this piece of plywood on the table saw. I cross cut and I rip along the fence to make all four edges nice and square, leaving the final length 31 inches. Finally I rip it down to 18 inches wide, which will be the final depth of my table saw sled.
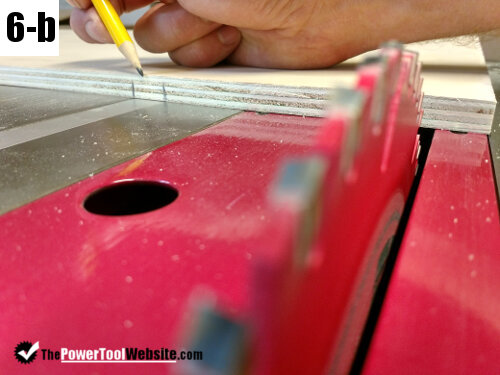
6. Take this aluminum runner and put it in the table saw slot on the right side of the blade, and lay the half inch plywood on top. I move it over so there’s an inch of overhang that can be cut off once it’s attached, and I mark the location of the aluminum runner, on one edge of the plywood.
You can also make your own table saw runners.
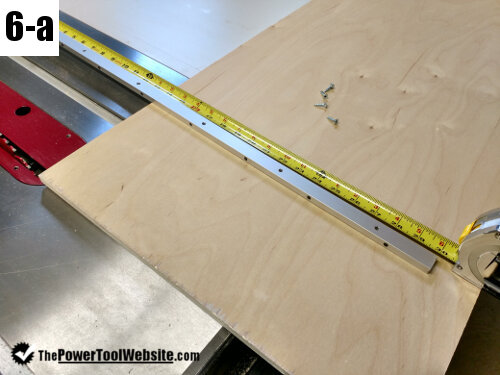
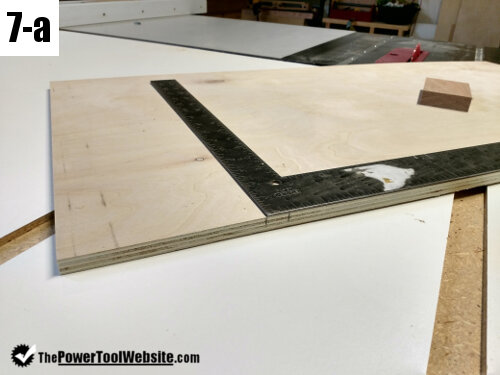
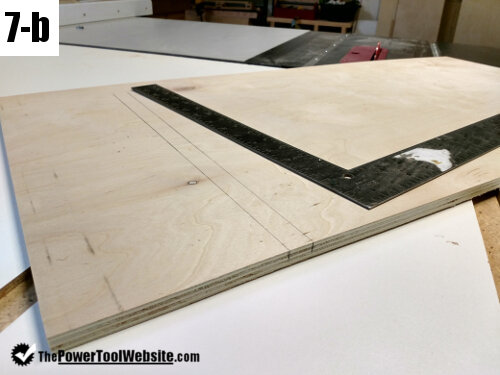
7. Using a framing square I extend those lines on the bottom side of the plywood, which I will use to align the runner to the base.
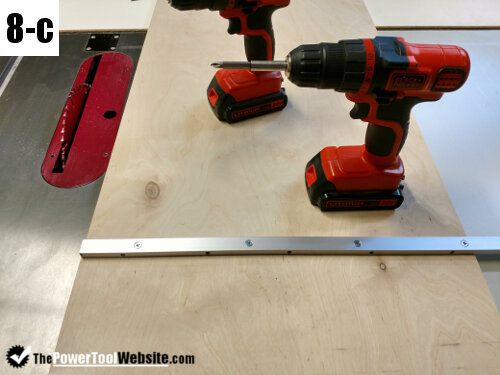
8. Hold the runner between these lines, mark your holes, and pre drill them. Use tape on your drill bit to gauge how deep you’ve gone thru the plywood, to avoid going all the way thru the table saw sled. Then secure the runner with the provided screws.
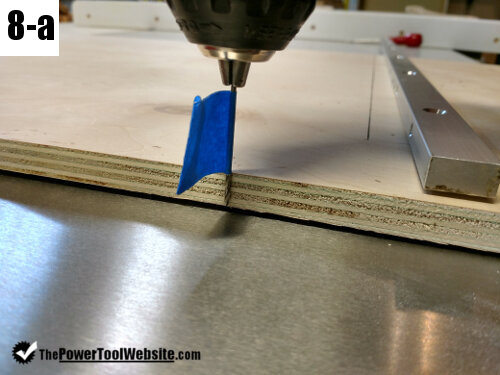
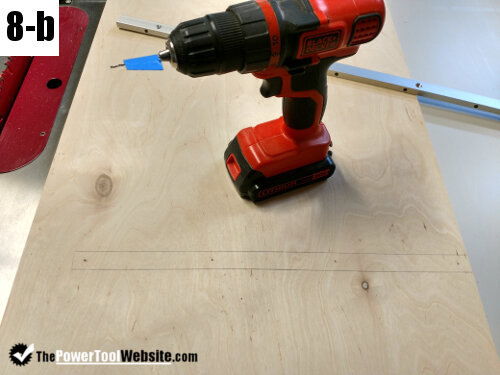
HARDWOOD RUNNER OPTION – Yes you can build your own runner out of hardwood. I’ve done these plenty of times and it works great. Click here to see how to build hardwood runners.
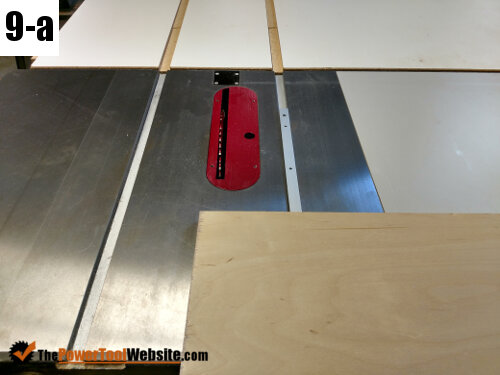
9. Now with the runner secured, go ahead and push the table saw sled with the saw turned on. This will cut the excess on the left side of the blade, and leaves you a nice straight edge which also acts as a cutting guide.
10. Using the remaining 3″ wide piece of 3/4″ plywood, glue it vertically along the leading edge of the table saw sled. This is to help keep the sled flat and rigid, and does not have to perfectly square to the cut edge.


The Main Fence – Pay Attention, It Needs To Be Done Right!
11. Pre-drill and countersink for the screws from underneath the table saw sled. I actually then added several holes on one end so if I need to make an adjustment to the fence, I can use a different clearance hole. This way you don’t have the screw pull the fence right back where it was after an adjustment.
12. Sink a screw in from the bottom, to secure the fence to the top. This should be done at the cutting edge. Then make the fence as perfectly square to the cut edge as you can using a framing square. Clamp it in place and sink 1 more screw at the opposite end. You only want these 2 screws at this point.


13. Put the table saw sled in place on your saw and get you a square piece of scrap wood. 12 or 14 inches square (or slightly rectangle) is fine. Mark each side, clockwise, 1 thru 4. Holding the piece firmly against the fence each time, you’ll be cutting just a hair off each of the 4 sides, in order. When 1 is cut, turn it so the cut edge is against the fence. Do this for all 4 sides.
14. Now cut roughly 1″ strip from edge 1. You can mark the front and back to avoid confusion when figuring up adjustments. Take a digital caliper and compare the front width of this strip the the back width. If the front is wider, you’re fence needs to be adjust clockwise.
However, getting this perfect to the thousandth is unlikely, and is unecessary. I made a slight adjustment in my fence and did the 5 cuts again and ended up with an error of 4 thousandths, which is actually less than 1/132 of an inch. I got lucky here, and I would’ve been happy with an error of 1/64th.


15. Now you can sink the remaining screws to secure the fence to the table saw sled.

16. Table saw is now complete and ready for use!

What Next?
Sand it down so it’s smooth with rounded edges. But DO NOT sand the cut edge of the sled, or the fence. These should be crisp sharp edges, and that will allow you to see exactly where the blade will go when lining up a board for a cut.
On most of my jigs I put on a coat of fast drying water-based polyurethane. Just a single coat is enough, and it keeps the wood from getting stained up or soaking up moisture on humid days (which can cause warping).
For a more Advanced table saw sled, check out this demonstration video here.
Be sure to sign up below to get some free templates, project plans, and updates from this website.