Zero Clearance Table Saw Insert – How To Make One The Right Way
A good zero clearance table saw insert can really make a difference in your table saw’s performance.
It offers optimal support of the work piece, all the way right up to the blade, meaning less (in some cases zero) tearout on the bottom side of the cut. That means you end up with a cleaner edge.
There are a few different ways to go about this, but I’ve tried a few and I’ve refined my method so what I end up with is a zero clearance throat plate that still has adjustable set screws, just like the factory version.
Plus, it still allows space for the riving knife, compared to other table saw inserts that require the riving knife be removed.
And the cool thing is you can build several of these at one time, and use them for different purposes.
Once will obviously be your main insert like shown above.
But you can make another specifically for a 3/4″ dado stack, and another for a 1/2″ stack, and so on.
You could make one specifically for a 45 degree bevel cut. And obviously the list goes on.
Let’s get started…
Step 1 – Blanks For Your Zero Clearance Table Saw Inserts

Take a factory table saw insert and use it to set your fence.
Now using some high quality 3/4″ plywood, make some rip cuts at that width. Cut enough right now to make all the zero clearance table saw inserts you want to make.
Once that’s done, go ahead and remove the blade and the riving knife.
Lay the factory throat plate upside down on the pieces and mark the curves.
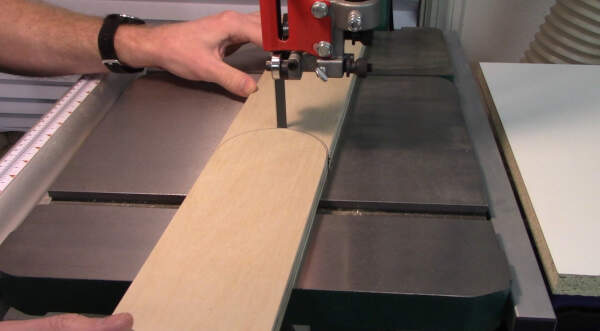
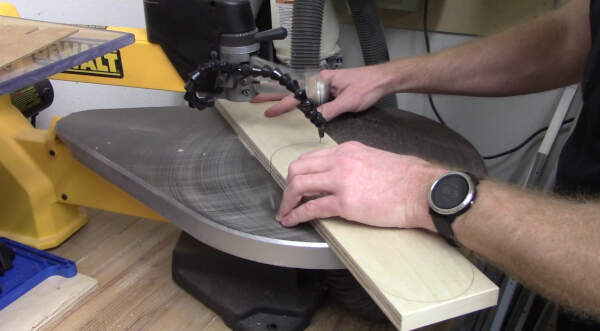
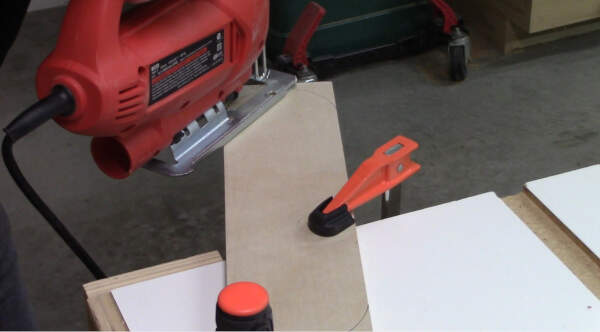
Now you can cut the curves, cutting just outside the line. You’ll refine them later.
You can cut these curves with a band saw, a scroll saw, or a jig saw. I did one of each to illustrate:
Note: if you’re on the fence about which tool to get first, check out Scroll Saw vs Band Saw – Which Should You Get First.
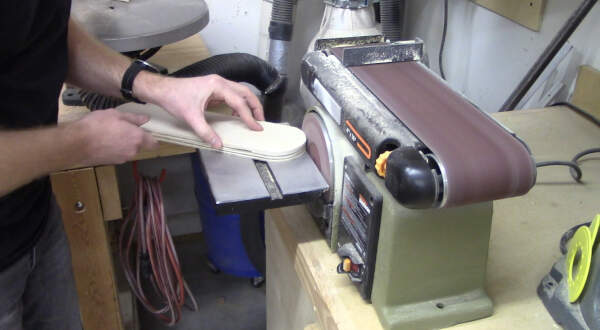
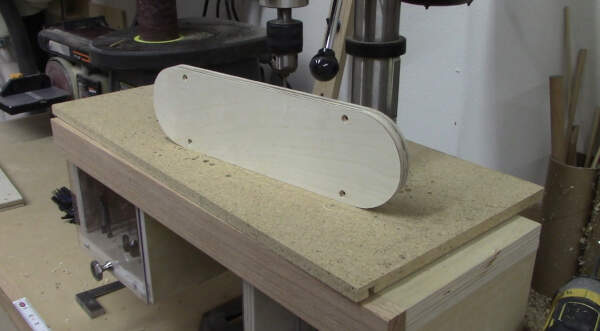
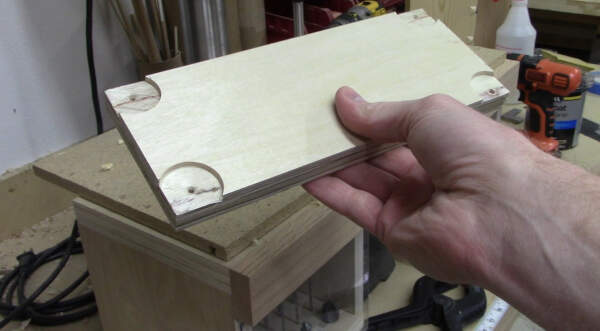
Next you can use a disc sander to remove the material up to and including the line. This should leave you with a blank throat plate that fits securely in your table saw.
But at this stage it will probably protrude over the top of the table because the throat plate supports are less than 3/4″ from the top.
So to compensate we’ll be adding relief areas by removing material. This will reduce the thickness in just the right places.
Step 2 – The Elevation Adjustment Screws
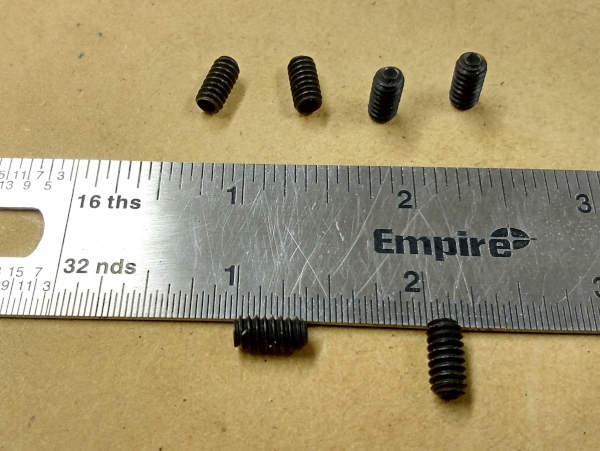
Get you some small set screws from the hardware store. These should be 5/16″ to 3/8″ long.
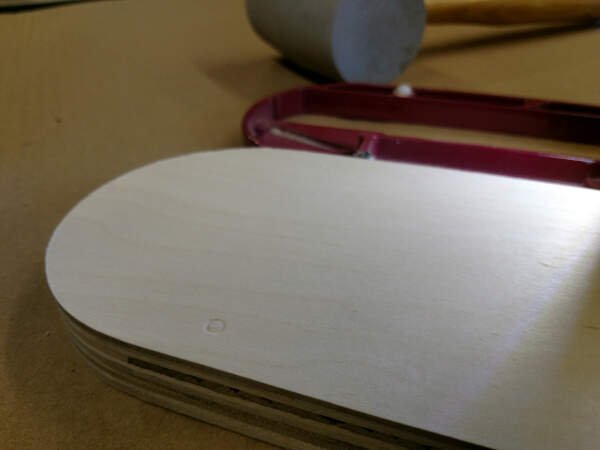
Now put your factory table saw insert on top of your blank, and hit it with a mallet. This will leave a slight indention on the plywood surface where the adjustment screws should go.
Now drill holes in these locations and countersink the tops slightly. This will keep the adjustment screws from tearing out the top veneer of the plywood when threading them in.
Now thread in the adjustment set screws, feeding them all the way through until they come out the back side of the blank.
If it pushes out the veneer on the back surface, that’s ok because you’ll be cutting that material away next.
Step 3 – Adding Relief Areas
For this I’m starting with a cut-off scrap piece of the same plywood, just to get the depth set on my drill press before I modify the actual blanks. I size this scrap piece so I don’t have to mess with the curved ends.
Place the scrap in the opening and mark the side as shown.
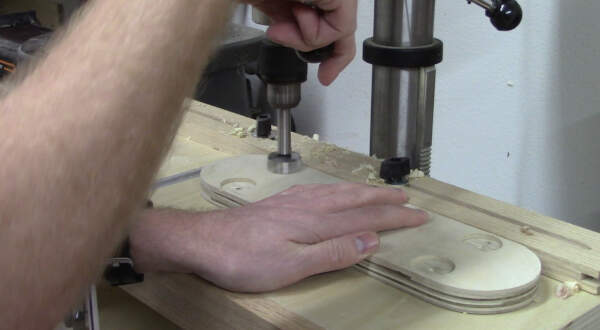
Use this depth to set the stop on your drill press and drill the areas in line with the supports. A 1-1/4″ forstner bit works great for this.
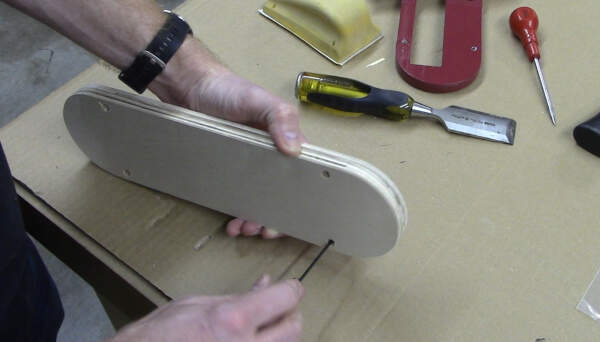
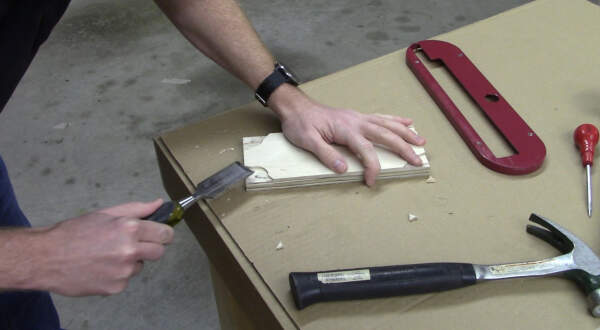
Clean up these relief areas with a chisel like shown.
Now when you set the scrap in place it should sit down just below flush of the table saw surface.
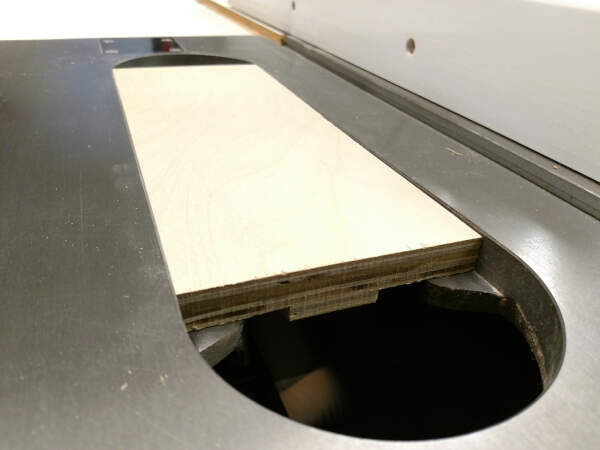
If it’s still too thick, adjust the drill press depth stop and remove a little more. Once you get the thickness right, move on to repeat this on the blanks.
Be sure to chisel away enough so the throat plate supports only make contact in these relief sections.
You’ll also want to drill a finger hole on the side at this point, otherwise once you fit this throat plate in your saw, you may find it tricky to get back out.
Position your finger hole just like the factory throat plate’s.
A 3/4″ hole with a spade bit works fine. Once drilled, sand the surface smooth and break the corners so you don’t have to worry about plywood splinters.
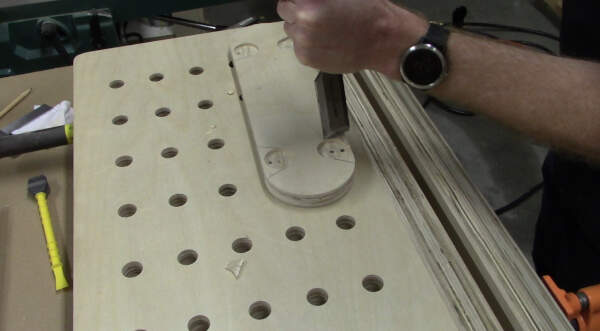
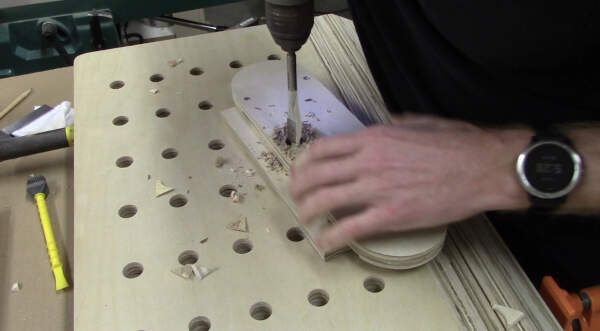
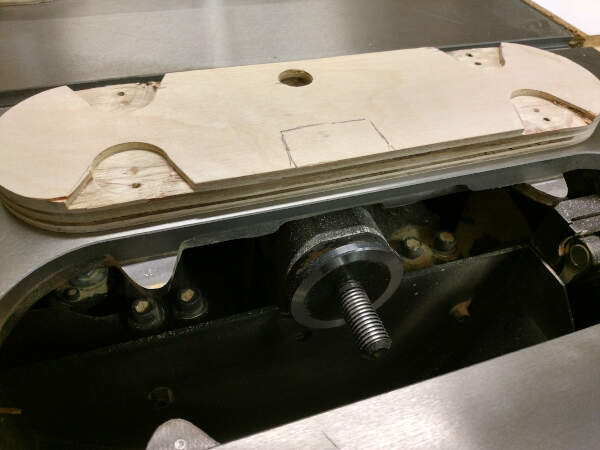
You’ll also want to raise the arbor and motor all the way up and mark out the location on the throat plate to give clearance for it:
Do this with the same bit at the same setting on your drill press. Clear away remaining material with your chisel.

Step 4 – Set The Throat Plate
Now go ahead and insert the adjustment screws so they just protrude through the bottom.

You can put a dab of blue thread lock on the set screws to help keep them from working loose.
Now put your table saw insert in place and adjust the set screws to get the elevation just right.

Step 5 – Cut The Blade Clearance
You may find that with your standard 10″ blade installed, this 3/4″ thick zero clearance table saw insert will not sit all the way down flush.
So what you can do is install a smaller blade temporarily, like one blade from your dado set.
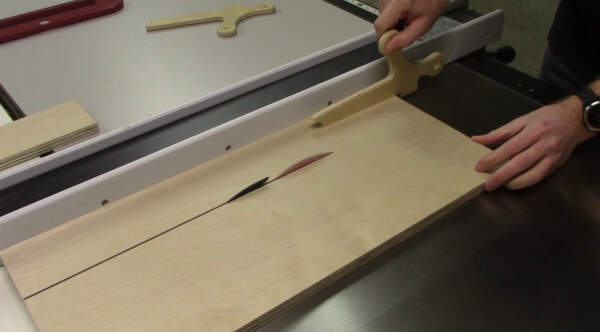
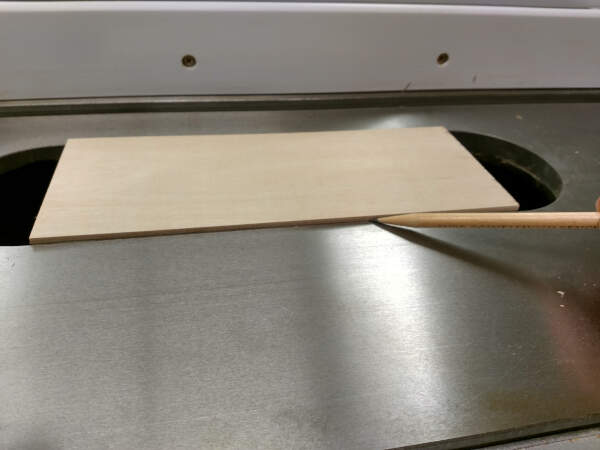
Now set your table saw insert in place and run your fence over the top of it to hold it down.
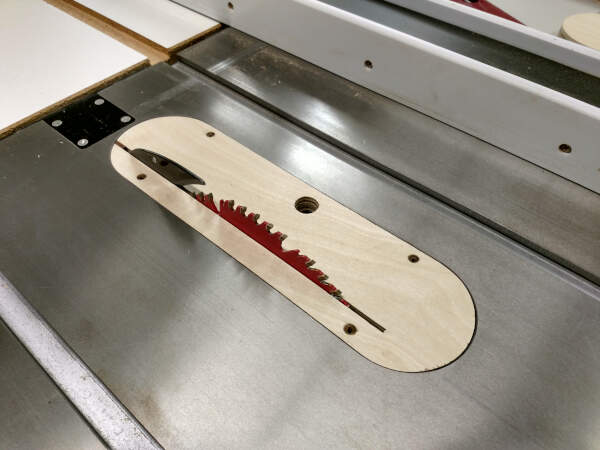
Turn on the saw and raise the smaller blade until it cuts partially through the new throat plate. You don’t need to cut all the way through yet, just enough to allow your regular blade to set down flush.
Now change over to your regular 10″ blade and set the table saw insert in place.
Move the fence over the top, but not in the way of the blade.
Engage the saw and raise the blade all the way up to cut the clearance in the insert.

Step 6 – Clearance For The Riving Knife
This step is optional. If you don’t want your zero clearance table saw insert to allow room for a riving knife, then you can skip this part.
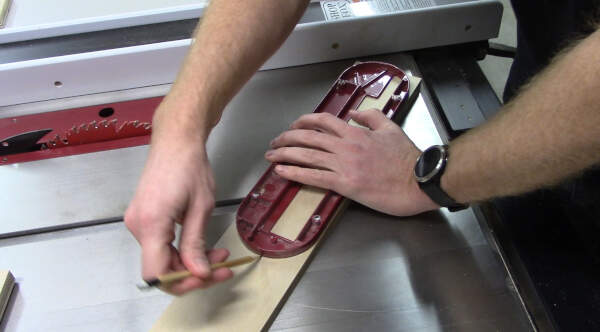
First, remove the insert and put the factory one back in.
Place the zero clearance insert over the blade on top of the factory insert. Now set your fence so it just touches the zero clearance insert.

Now remove the zero clearance and turn on the saw. Push the insert into the blade to make a kerf cut inline with the blade clearance cut.

This leaves the back edge kind of flimsy, so you’ll want to make a small hardwood shim that fits in the kerf cut. Glue it in place using CA glue, as shown here:

Learn more on using CA glue with woodworking here.
Remove the excess and sand it smooth.


Step 7 – Finish Your Zero Clearance Table Saw Insert
Now do any final sanding to remove splinters and sharp corners.
Apply a layer of paste wax to make the top surface super smooth and slick.

Your zero clearance throat plate is ready for use!

Be sure to subscribe below to get updates on other posts like this one, plus I’ll send you all kinds of tips, techniques, and some free plans.
Related:
How To Sharpen Your Chisels
How To Handle And Break Down Plywood
Table Saw 101 – Know Your Tool